Carpenter seed boxes
Growing plants indoors is a great advantage, many of the plants need a jump start. But what should they be planted in? How about carpentry of some seed boxes! It's a useful product, and there's also a lot of learning in the building process.
Area
It's good to have plenty of space for this task. You can also work outside.
Activity
- The first thing you can do is guess together: How long is 1 meter?
- Each group gets a two-meter plank. First, divide the plank in half to establish the meter.
- Measure each meter piece into 60 cm and 40 cm. Discuss the advantages and disadvantages of using a tape measure versus a folding rule. How to measure accurately?
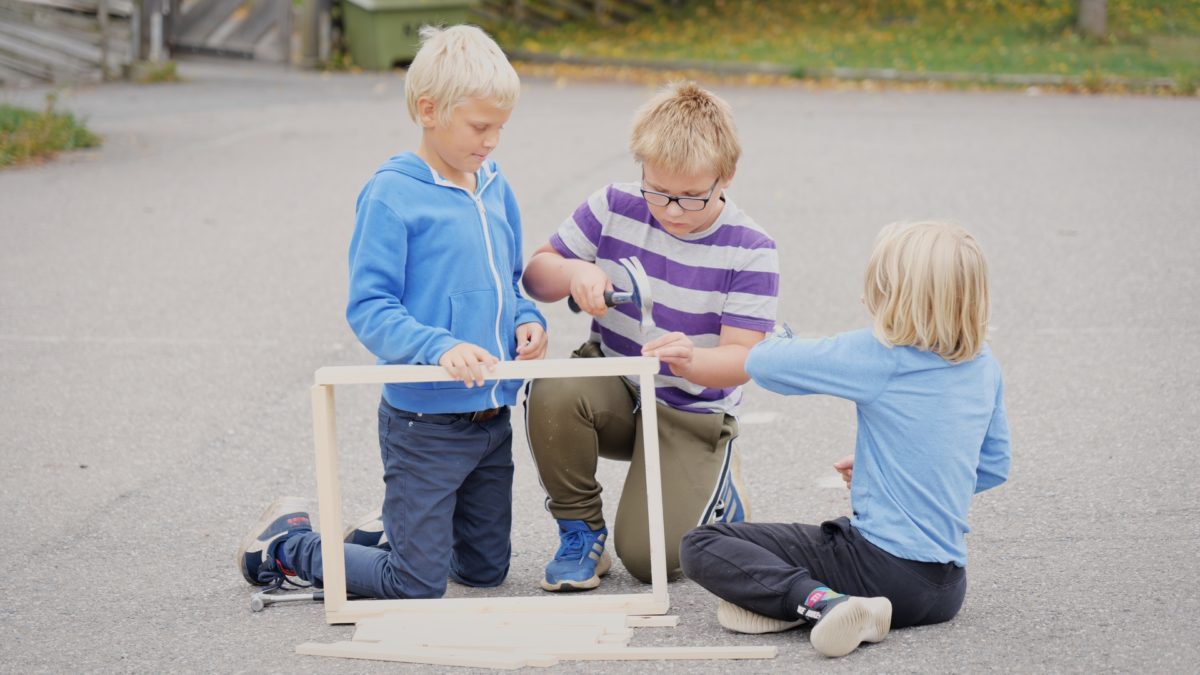
- Use the saw handle to make straight lines to cut along. Discuss together: What is a good way to stand when sawing? How can we help the person sawing – where is the best place to hold the plank?
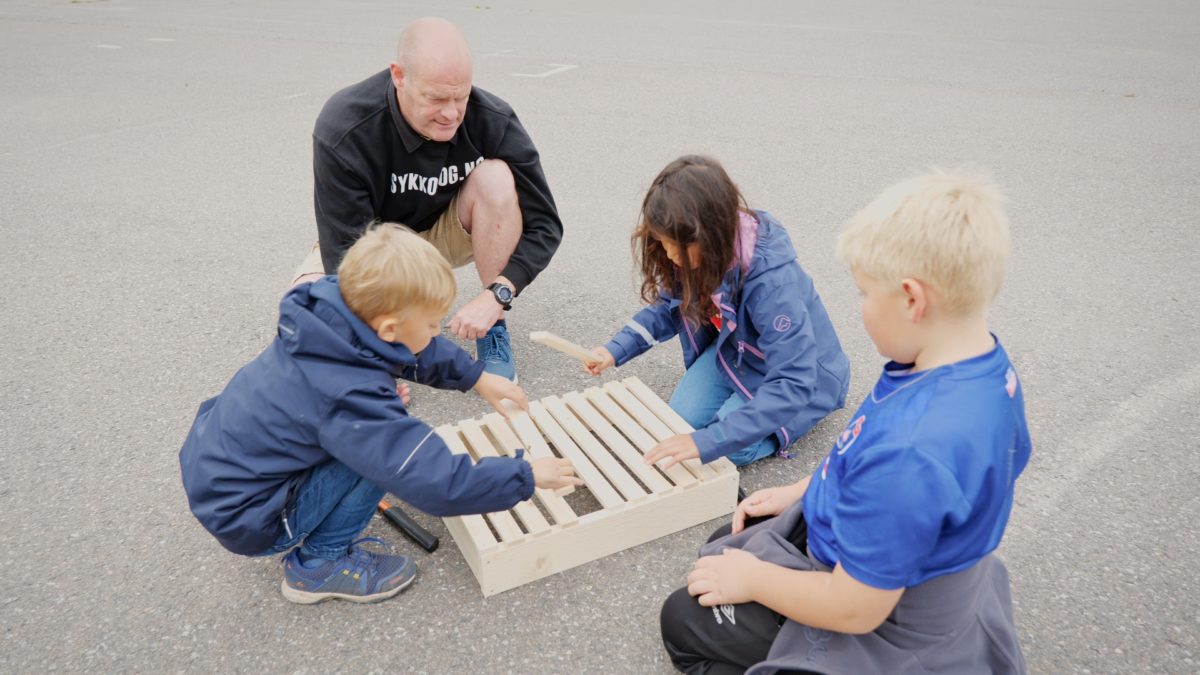
- Lay the 60 cm piece of plank across two 40 cm pieces. Mark where two nails on each end of the plank need to be driven in to hit the 40 cm planks below. Lay the 60 cm piece on the ground, drive the nails almost all the way through before laying the 60 cm on top of the two 40 cm pieces and driving the nails through. Then drive in the other 60 cm piece. Now the frame is ready.
- Cut the “sticks” into lengths of about 41-42 cm, long enough to fit on the bottom without sticking out. Exactly how long you want them to be depends on how thick the planks are. Measure up!
- Nail in 10-11 bottom slats per box. Each is nailed in with a small nail at each end.
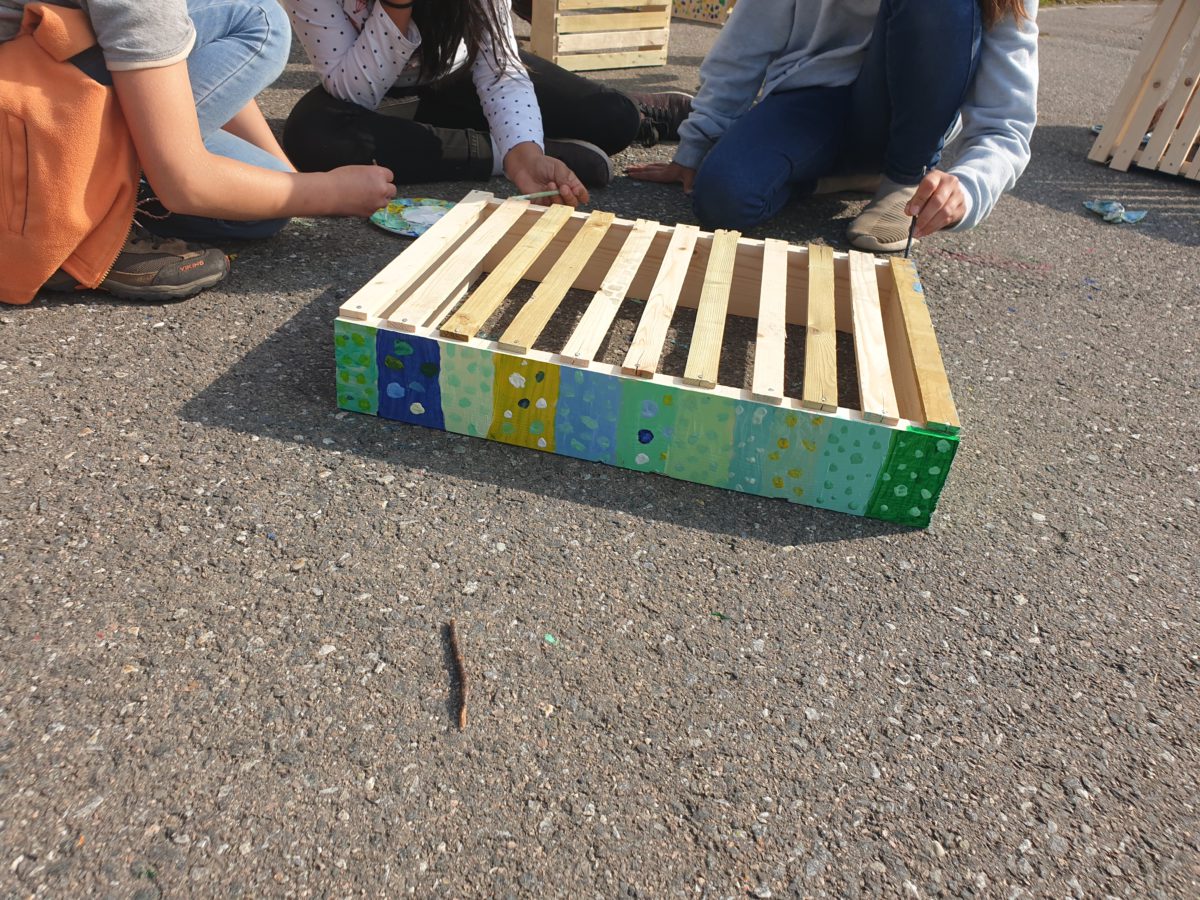
Make sure to take turns so that everyone gets to hit a nail! How do we pull up a nail when we miss? Talk about how we can use the hammer as a lever. - Finally, decorate the box. Here you can just let your creativity run wild! What colors look good with the green sprouts? What colors do you like best? Can you make a plant-related pattern?
- And finally, you have to use the box for what it was made for, namely to sow seeds for what we are going to plant in the garden. Once we have just sown, the boxes can be placed on top of each other, the seeds do not need light to germinate. Why not? Talk together!
Tips
To prevent the bottom sleepers from cracking when they are nailed in, it is a good idea to cut the tips of the small nails!
“Stiks” are the narrow pieces of wood that lie between layers of planks in the hardware store. They tend to be in plentiful supply, and they give them away for free. They’re also great for stirring up paint or making garden markers.
The task can be expanded within arts and crafts, Norwegian, English and mathematics. Here are some examples:
- Norwegian and English: Students can take pictures in the process, and create instructions/brochures in Norwegian and English. The brochure can hang on the box if you make them for sale. It is also possible to practice speaking English when we carpentry and collaborate.
- Arts and crafts: Branding your products, creating your own symbol.
- Math: working with rectangles, drawing in three dimensions, measuring perimeter, converting between meters, decimeters and centimeters. Area: how to carve a box with a circumference of two meters so that the area is as large as possible? Give four students 2 meters of rope, ask them to make different squares.
Useful links
If you go to Organic Norway's school garden videos and watch video no. 1, at the bottom of the page, you'll see the seed boxes in use. Here they are filled with pots made of newspaper. You can also just cover the bottom with newspaper and fill the soil directly in. It makes for a neat job afterwards.